Make a solid plaster container
Share
Gypsum Container Making Guide
01 Prepare materials
Pigment powder, Gypsum powder, Gypsum Liquid, Container mold silicone mold, water (spare), Electronic scale, Scraper, Wooden stick, Paper cup, Gypsum defoaming Agent
02 Measuring gypsum powder
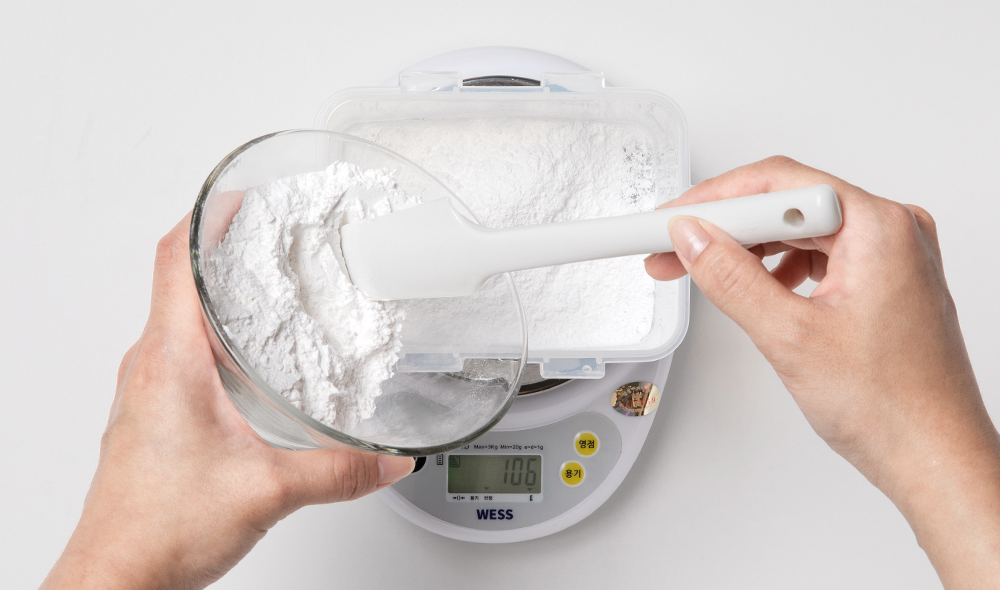
03 Measuring pigment powder (skip if not adding pigment)
Take 1 gram of pigment powder and add it to the gypsum powder.
(This time we will use CW - Hansa Yellow Pigment Powder )
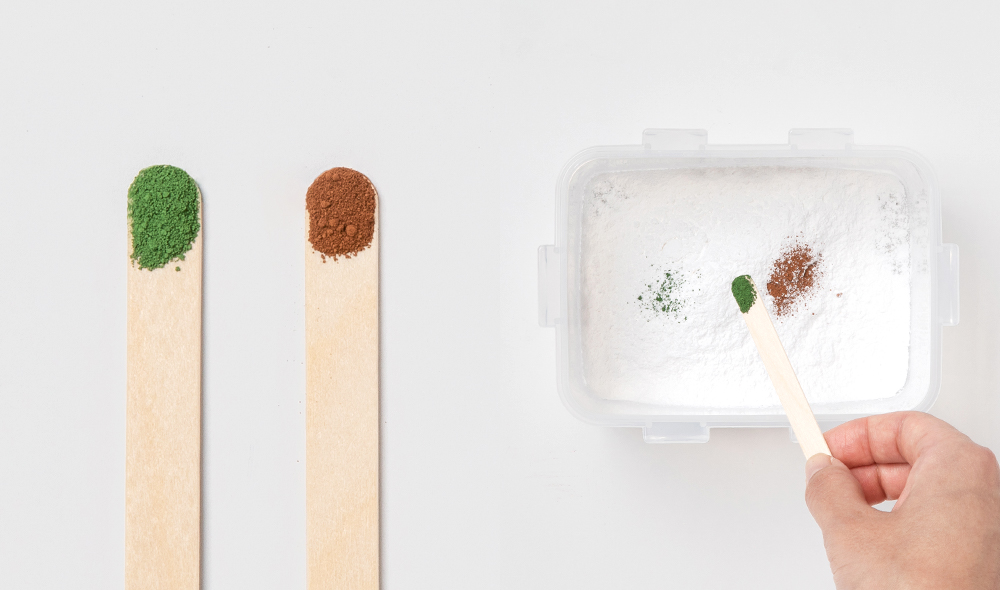
04 Mix pigment powder (If you do not want to add pigment, you can skip it)
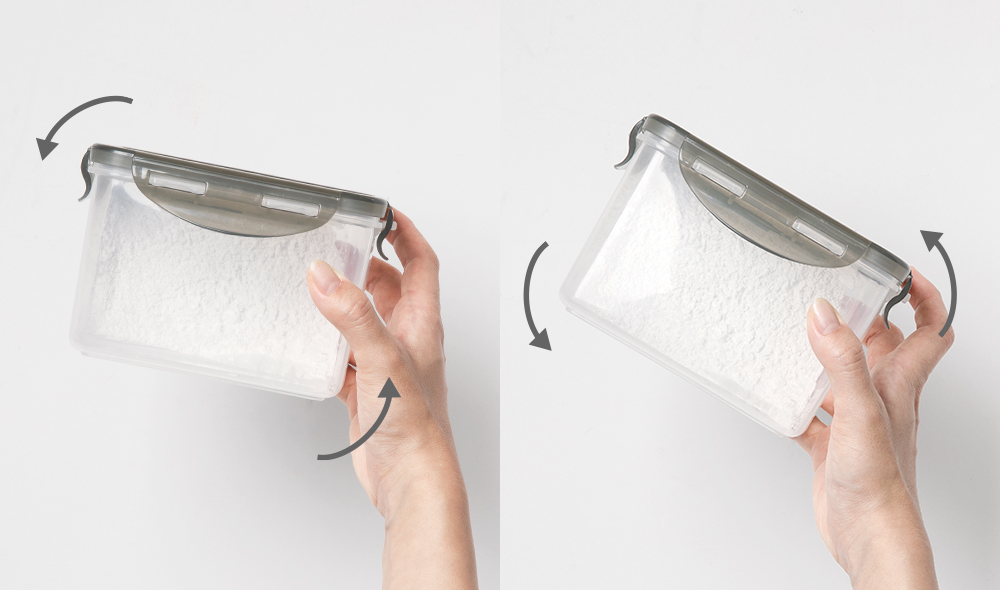
Close the plastic bucket and shake it up and down or stir with a wooden stick to evenly distribute the pigment powder.
(Please shake the powder or stir the powder as much as possible to avoid clumping.)
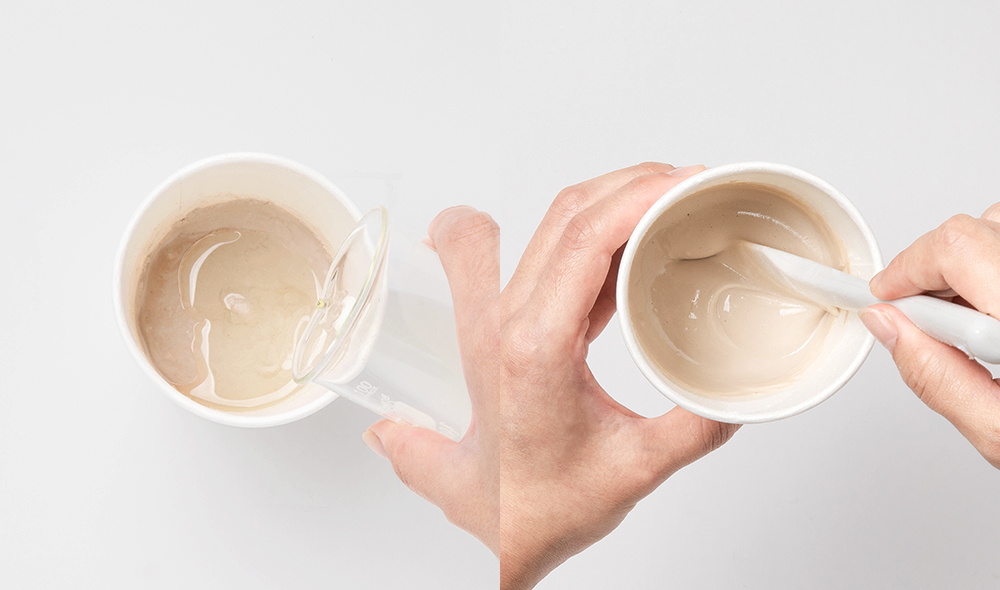
05 Add gypsum solution
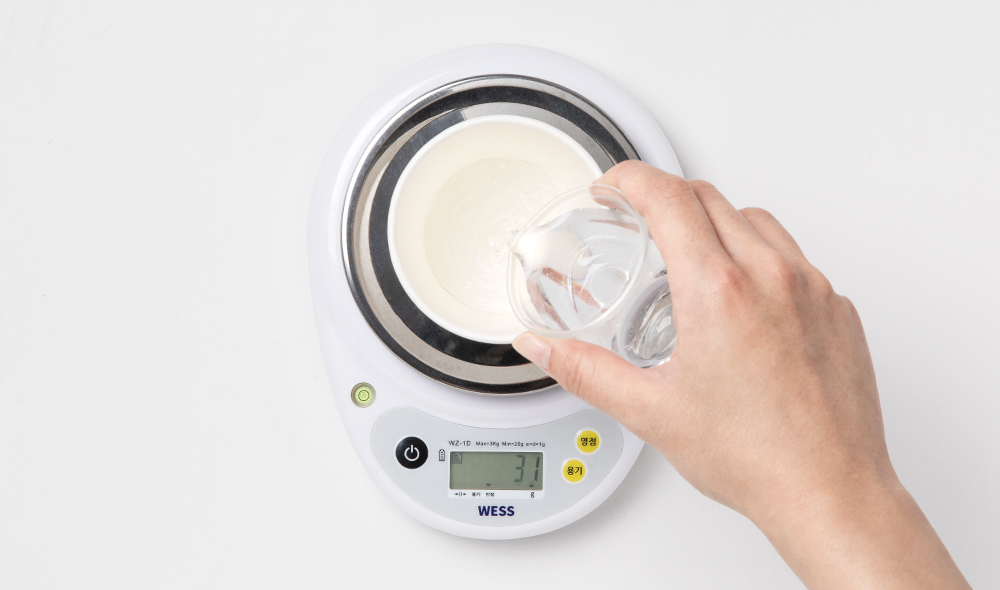
Put the evenly stirred gypsum powder and pigment powder on the electronic scale and return the degree to zero, then add 40 grams of gypsum liquid.
(It is recommended not to exceed the maximum proportion of 30%, and the recommended CW proportion is 28.5% of the total weight.)
- Basic ratio: gypsum 100g: CW gypsum liquid 40g
If the total weight required to make the mold is approximately 100g: gypsum 71.5g: CW gypsum liquid 28.5g
Mold capacity ÷ 7 × 5 = gypsum base capacity
Mold capacity ÷ 7 × 2 = CW gypsum liquid volume to be mixed
- Adding gypsum liquid may increase bubbles. It is recommended to add an appropriate amount of gypsum defoaming agent to reduce bubbles.
(Amount is 0.3-1%)
06 Mixing gypsum powder
Stir evenly with a spatula or wooden stick to form a flowable dough.
** Since no water is added, stirring will be difficult. At this time, a small amount of water (not more than 20ml) can be added to achieve smoother stirring.
** During the mixing process, the gypsum liquid raw material smell will be smelled. The smell will gradually become odorless as it mixes with the gypsum powder and hardens.
07 Pour into the mold
After checking that there are no foreign objects in the prepared silicone mold, pour the prepared plaster mixture into the mold. And gently lower the mold up and down so that the plaster dough is all the way down and the top surface is flat. Repeat several times until the air bubbles rise to the top layer.
08 Eliminate bubbles
Tap the sides of the mold to mix the plaster dough evenly and remove any air bubbles inside.
(Air pressure is sometimes used to remove air bubbles before they form on the surface.)
09 Removal
When the plaster has completely hardened, remove it from the mold.

10 Use plaster containers to make candles
You will find that the gypsum product after adding gypsum liquid is particularly hard and smooth. After it is completely solidified, wax liquid can be poured into it to make candles.


