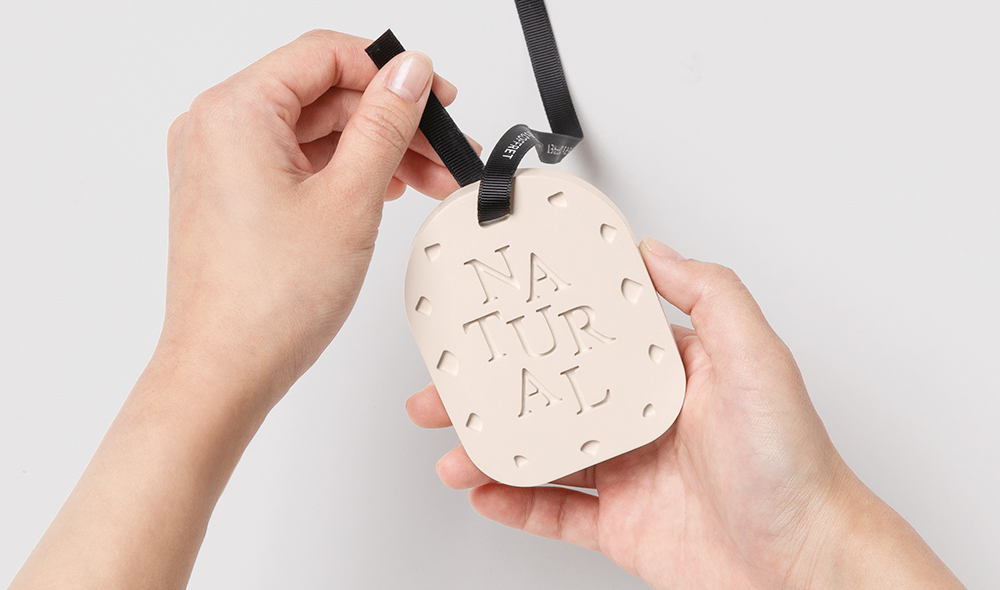
Emotions in color, making natural gypsum diffuser stones
Share
Make emotional
Natural gypsum diffuser stones
Bring a fresh scent to your damp closet.
Finding colors that match scents is also fun.
Anyone can create a flawless plaster diffuser if you try it step by step.
Let’s start plaster art with a DIY lesson!
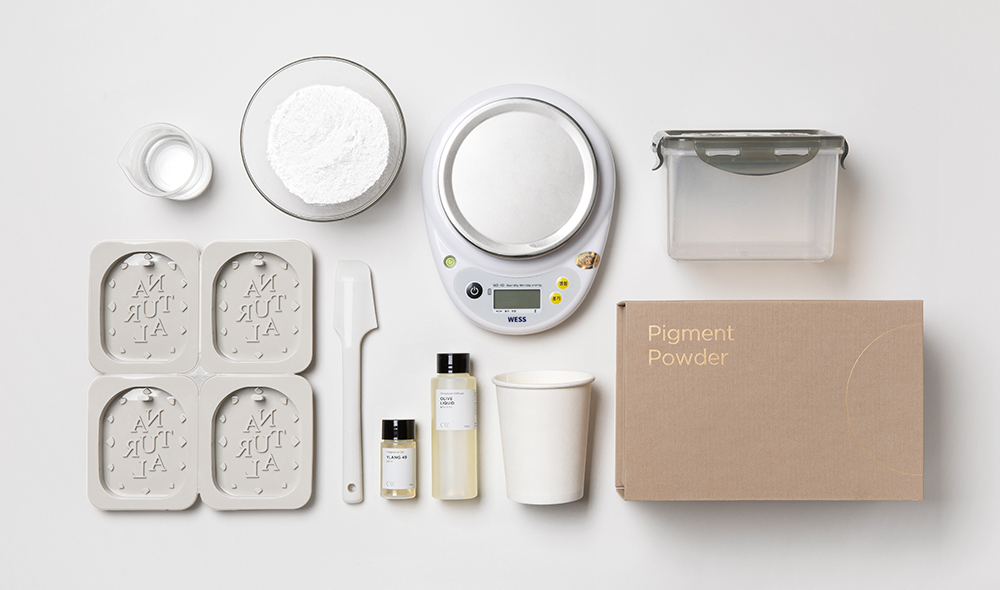
01 Prepare ingredients
Supplies| Pigment powder, Gypsum powder, Olive liquid (for gypsum), Gypsum silicone mold, water, essential oil, ribbon, electronic scale, scraper, paper cup, plastic container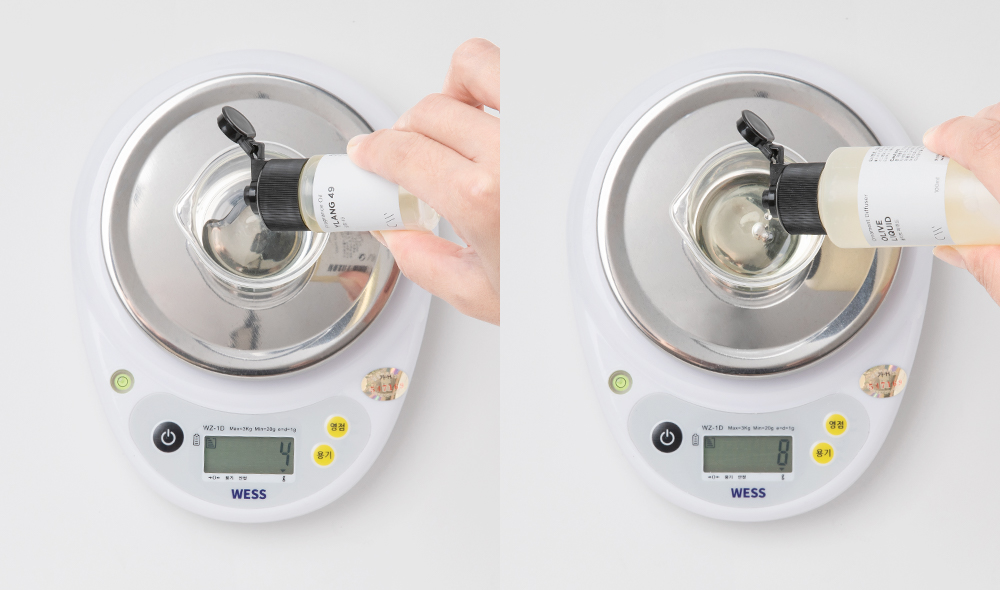
02 MeasurementEssential oil
Measure 4 grams of essential oil and 8 grams of olive liquid (emulsifier). (The mixing ratio of essential oil and olive liquid is 1:2.)
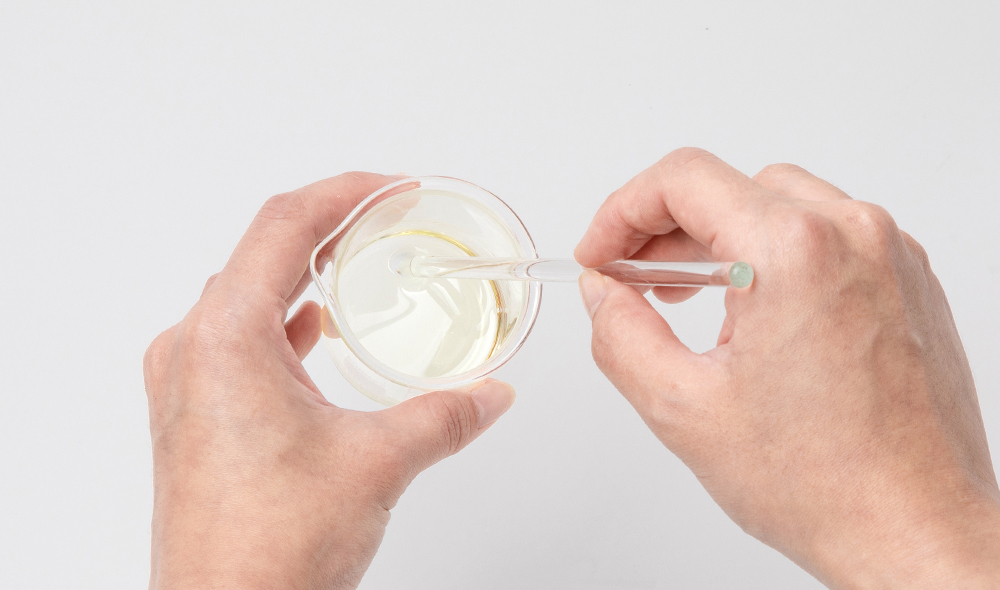
03 Mix essential oils and olive liquid
Use a glass rod to mix the essential oil and olive liquid in one direction for about 1 minute.
(Olive juice is a solubilizer that helps mix the oil and gypsum powder evenly.)
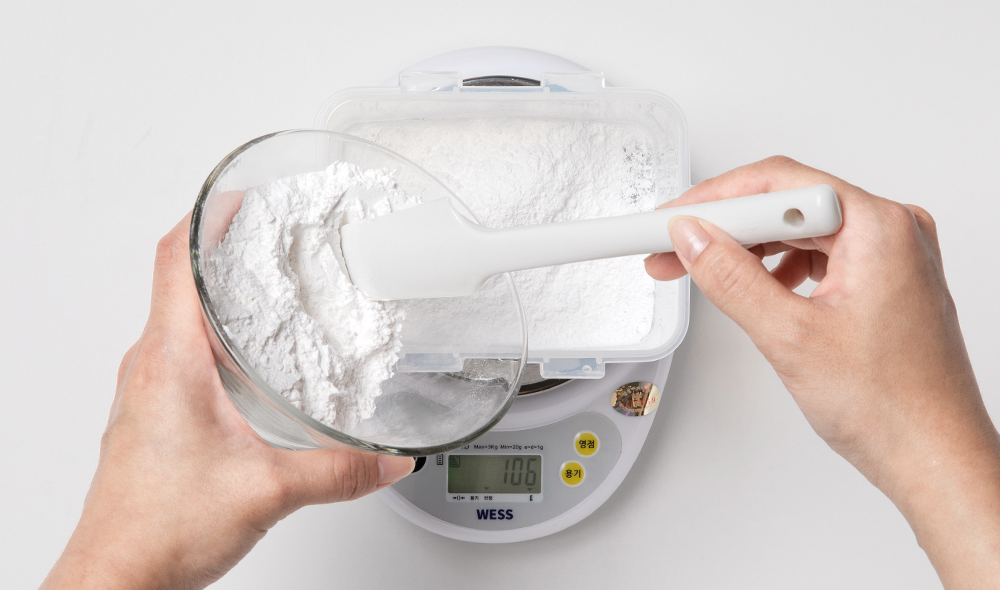
04 Measurementgypsum powder
Pound out 106 grams of gypsum powder and put it into a plastic bucket.
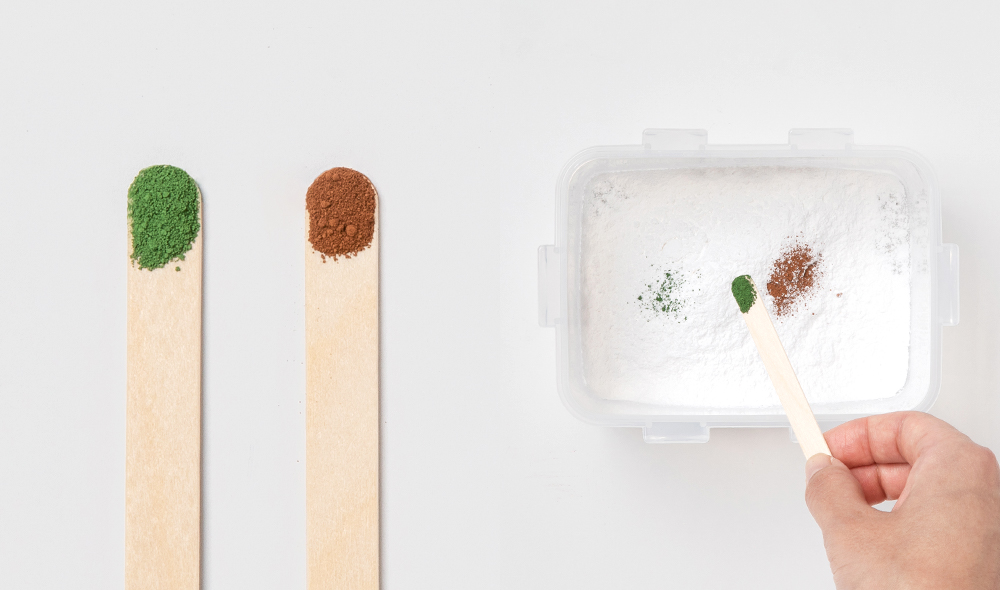
05 Calculateamount of pigment powder
Pigment Powder Pound Take appropriate amounts of green and brown pigments and add them to the gypsum powder.
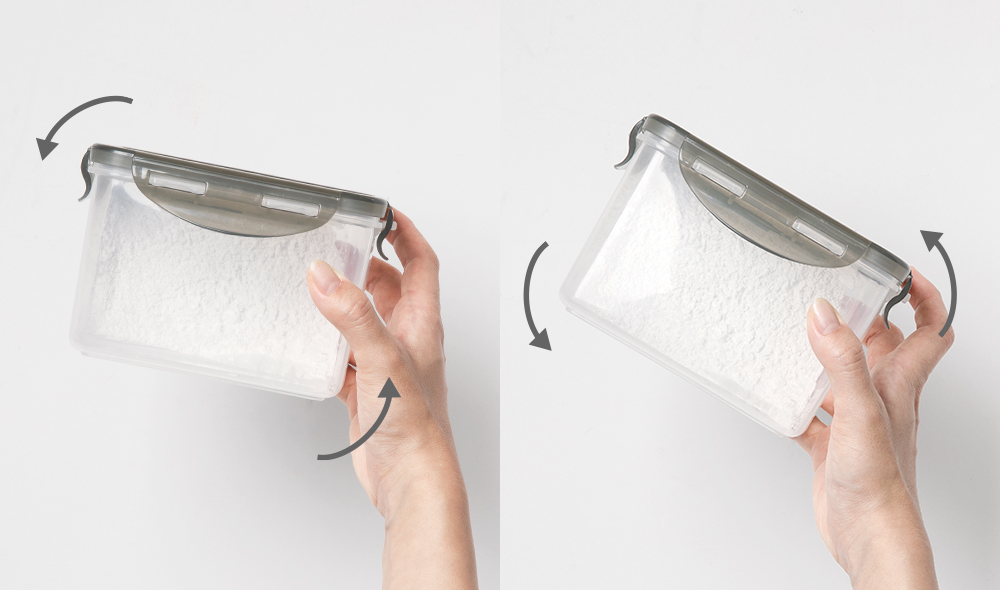
06 Mixed pigment powder
Close the plastic bucket and shake it up and down to evenly distribute the pigment powder.Please shake the pigment powder as much as possible without clumping.
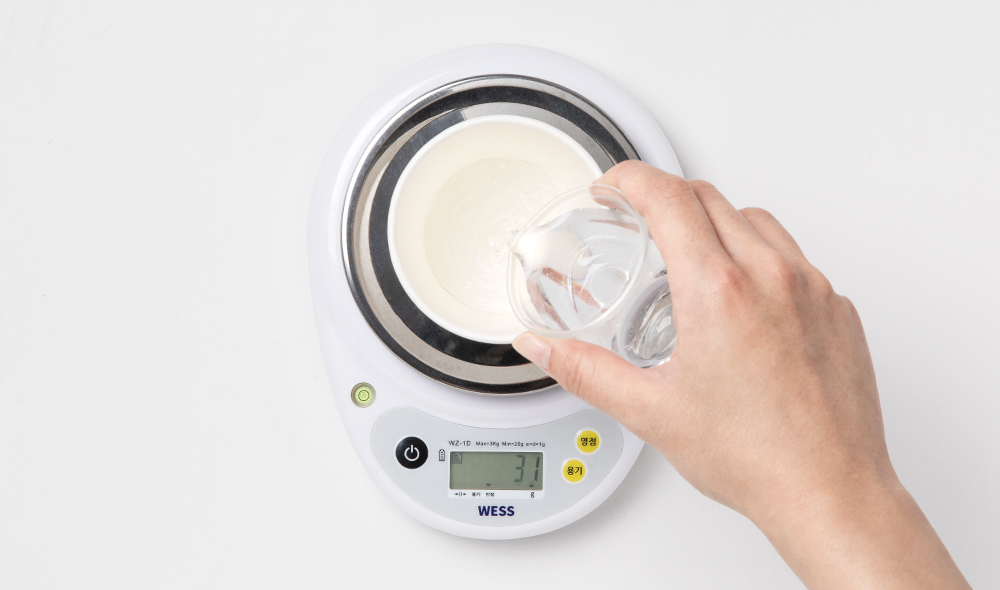
07 Measuring water
Measure 31 grams of water into a new paper cup.*The amount of water needs to be increased or decreased depending on the type of gypsum powder and environmental factors.
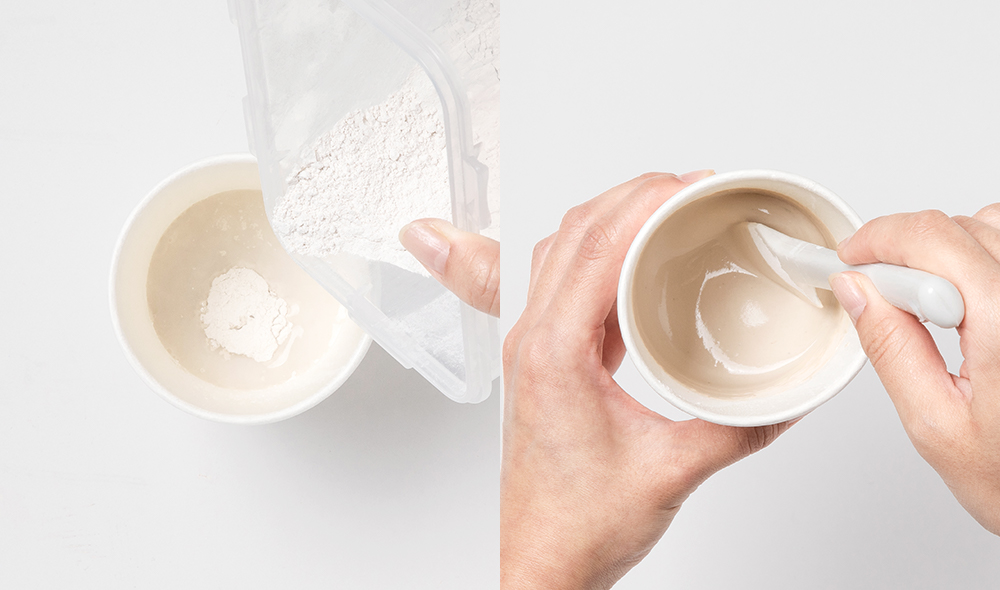
08 Making plaster dough
Pour the mixed gypsum powder into the measured water and stir with a spatula to mix the pigment powder evenly.
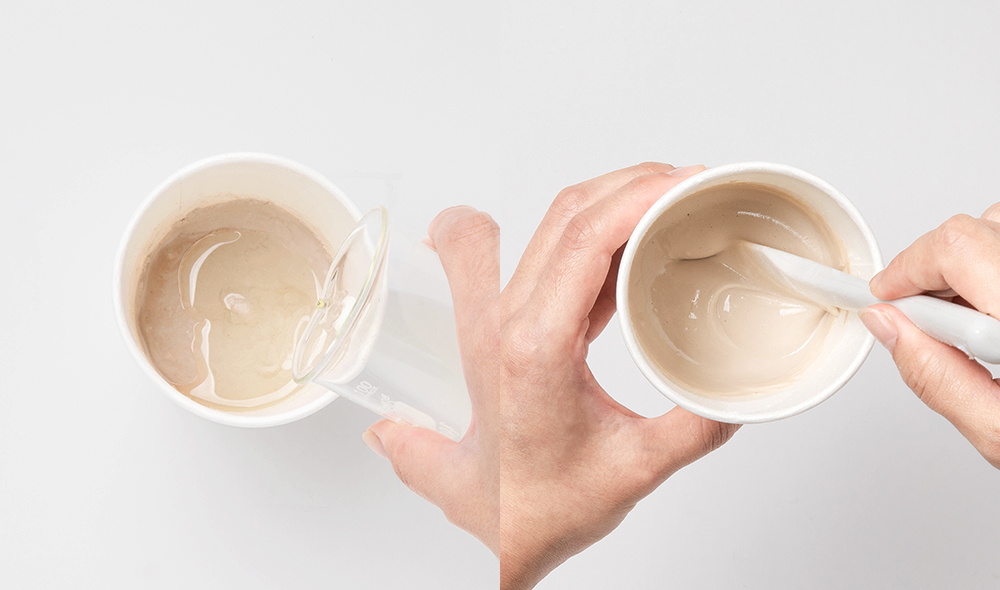
09 Add olive oil and essential oils
Add the pre-mixed essential oil and olive oil liquid to the dough, and mix thoroughly for about 1 minute to mix all the ingredients into a dough.
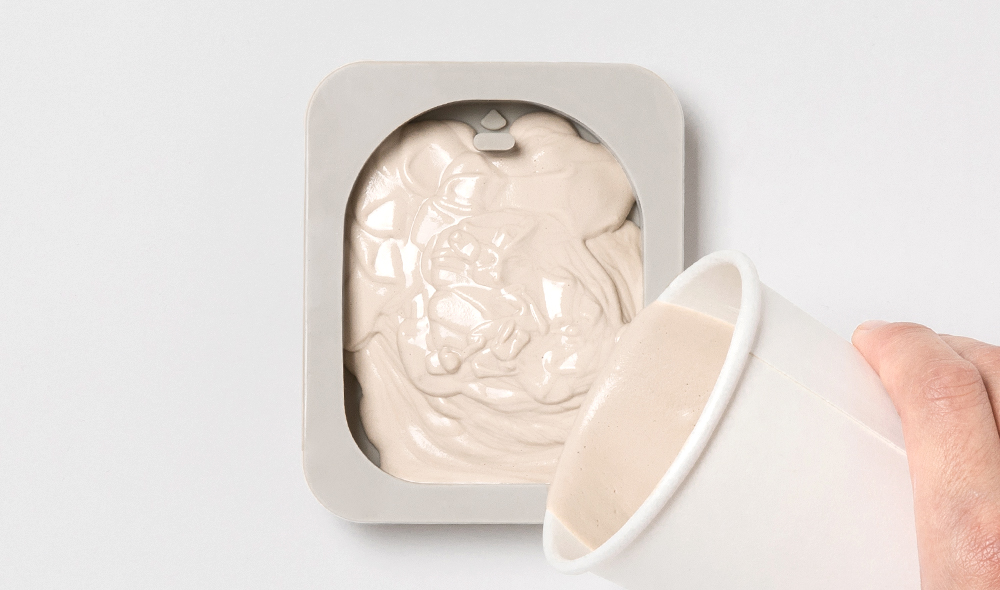
10 Pour into mold
After checking that there are no foreign objects in the prepared silicone mold, pour the prepared plaster mixture into the mold.
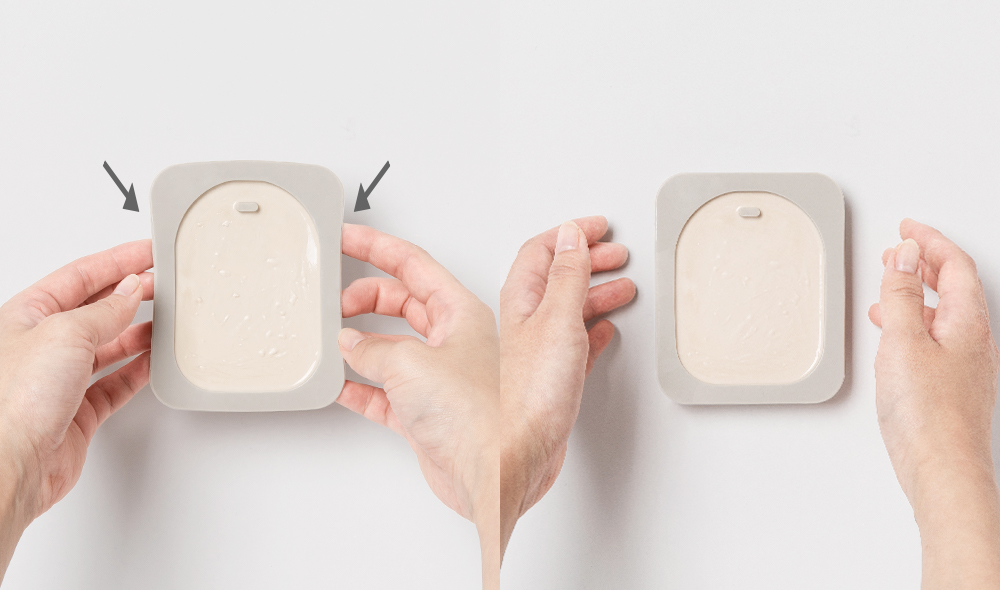
11 Eliminate bubbles 1
Gently lower the mold up and down so that the plaster dough goes all the way down and the top surface is flat. Repeat several times until the bubbles rise to the top layer.
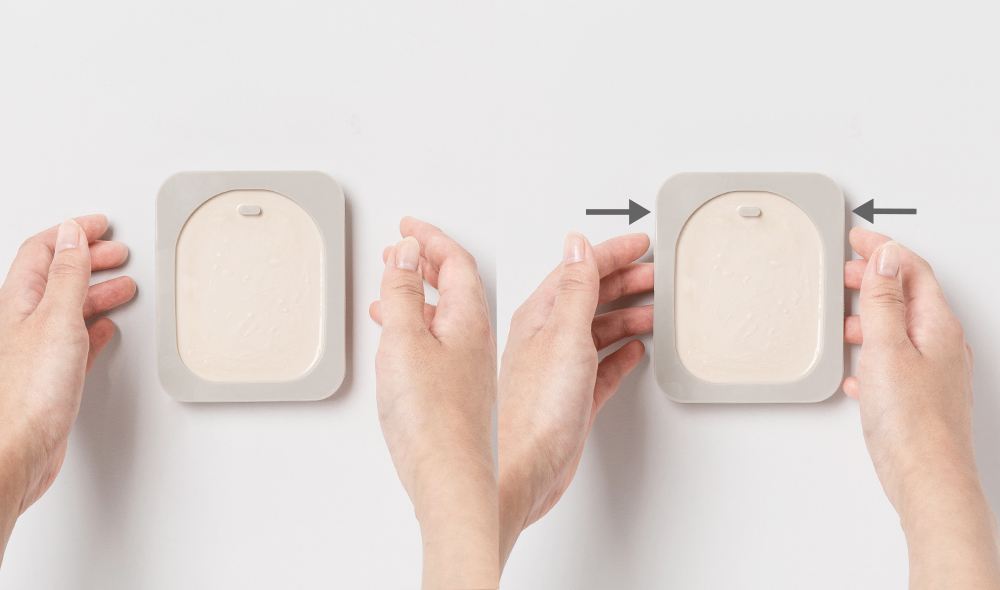
12 Eliminate bubbles 2
Tap the sides of the mold to mix the plaster dough evenly and remove air bubbles inside.
(Air pressure is sometimes used to remove air bubbles before they form on the surface.)
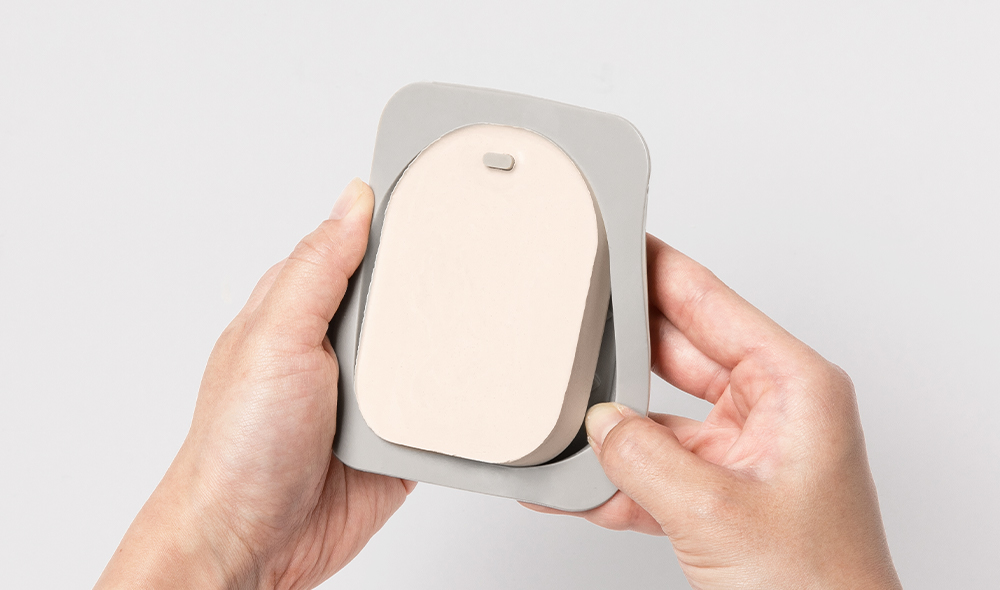
13 Demoulding
When the plaster has completely hardened, remove it from the mold.